That Creaky Bottom Bracket
There’s nothing more annoying or demoralising than that sinking feeling you get when you’re rolling silently, like a gentle breeze, along a glass smooth tarmac surface on your best road bike, and that rhythmic eek, eek, eek, eek randomly starts up. Quiet at first. Wait. What? Where is that sound coming from? Then louder. “I know it’s not that creaky bottom bracket that I serviced yesterday,” you say to yourself. “Surely I fixed it good and proper. I took my time with that as well,” you reason.
The good old silent days
There was a period in cycling history when bottom brackets didn’t have a voice. They were the dumb, subservient workhorses sitting at the lowest midpoint of your frame. A bottom bracket cuddles the axle that your cranks turn—not without some effort on your part. Always dutifully revolving. Rarely grumbling. Yes, it occasionally demanded attention. But generally, it didn’t randomly perk up and start twittering like a bird and ruin that bike ride you were so looking forward to. If you’re as anally retentive as me, that incessant noise seeps into your psyche and strips away all your joy.
Then came the press-fit
Back in those heady, nostalgic days, the BB was threaded into the frame’s bottom bracket shell. You tightened it snug with a decent wrench, and it stayed there. Then along came the press-fit… This creature was born in part through the advent of carbon fibre frames. The carbon doesn’t tolerate being threaded.
Initially, metal bottom bracket shells were bonded into the carbon frame. This metal insert had threads that accepted a threaded bottom bracket. At some point, somehow, someone—probably an engineer bod—decided to do away with these bothersome threads and those pesky threaded shells. Instead, you simply shoved the bearings into a hole machined in the carbon fibre that was a teeny bit too small for the bearing to fit!
Square block, round hole
The theory has precedent. In machinist and engineering circles, shoving a metal part into a hole slightly too small so it doesn’t come out has been a ‘thing’ for hundreds of years! It works pretty well, by and large. The trick to a really good, reliable fit is precision. The hole has to be exactly ‘just so’. Not too small or too big, even by a hair’s breadth. So, forcing bottom bracket bearings into a perfectly machined carbon fibre hole should work. If that fit is exactly right!
Precision, precision, precision
We’re talking about the 10th part of a millimetre here. That’s not easy to see, let alone machine on a production scale in carbon fibre frames. Bear in mind that this unimaginably small fraction isn’t even close to some of the press fit standards required in traditional engineering circles. You’re looking at a couple hundredths of a millimetre in some cases. So it’s no surprise that pro teams with their top spec, sponsor provided, newly minted frames experience few problems. On the other hand, the tired, eight year old carbon whip that’s seen a few winters and a couple of bottom bracket replacements done by a bike shop apprentice with a ball peen hammer doesn’t fare so well. Sadly, the frames supplied to the consumer have often been found to be out of tolerance. That perfect storm results in the eek, eek, eek, eek I detailed earlier.
The BB90 and other confusing standards
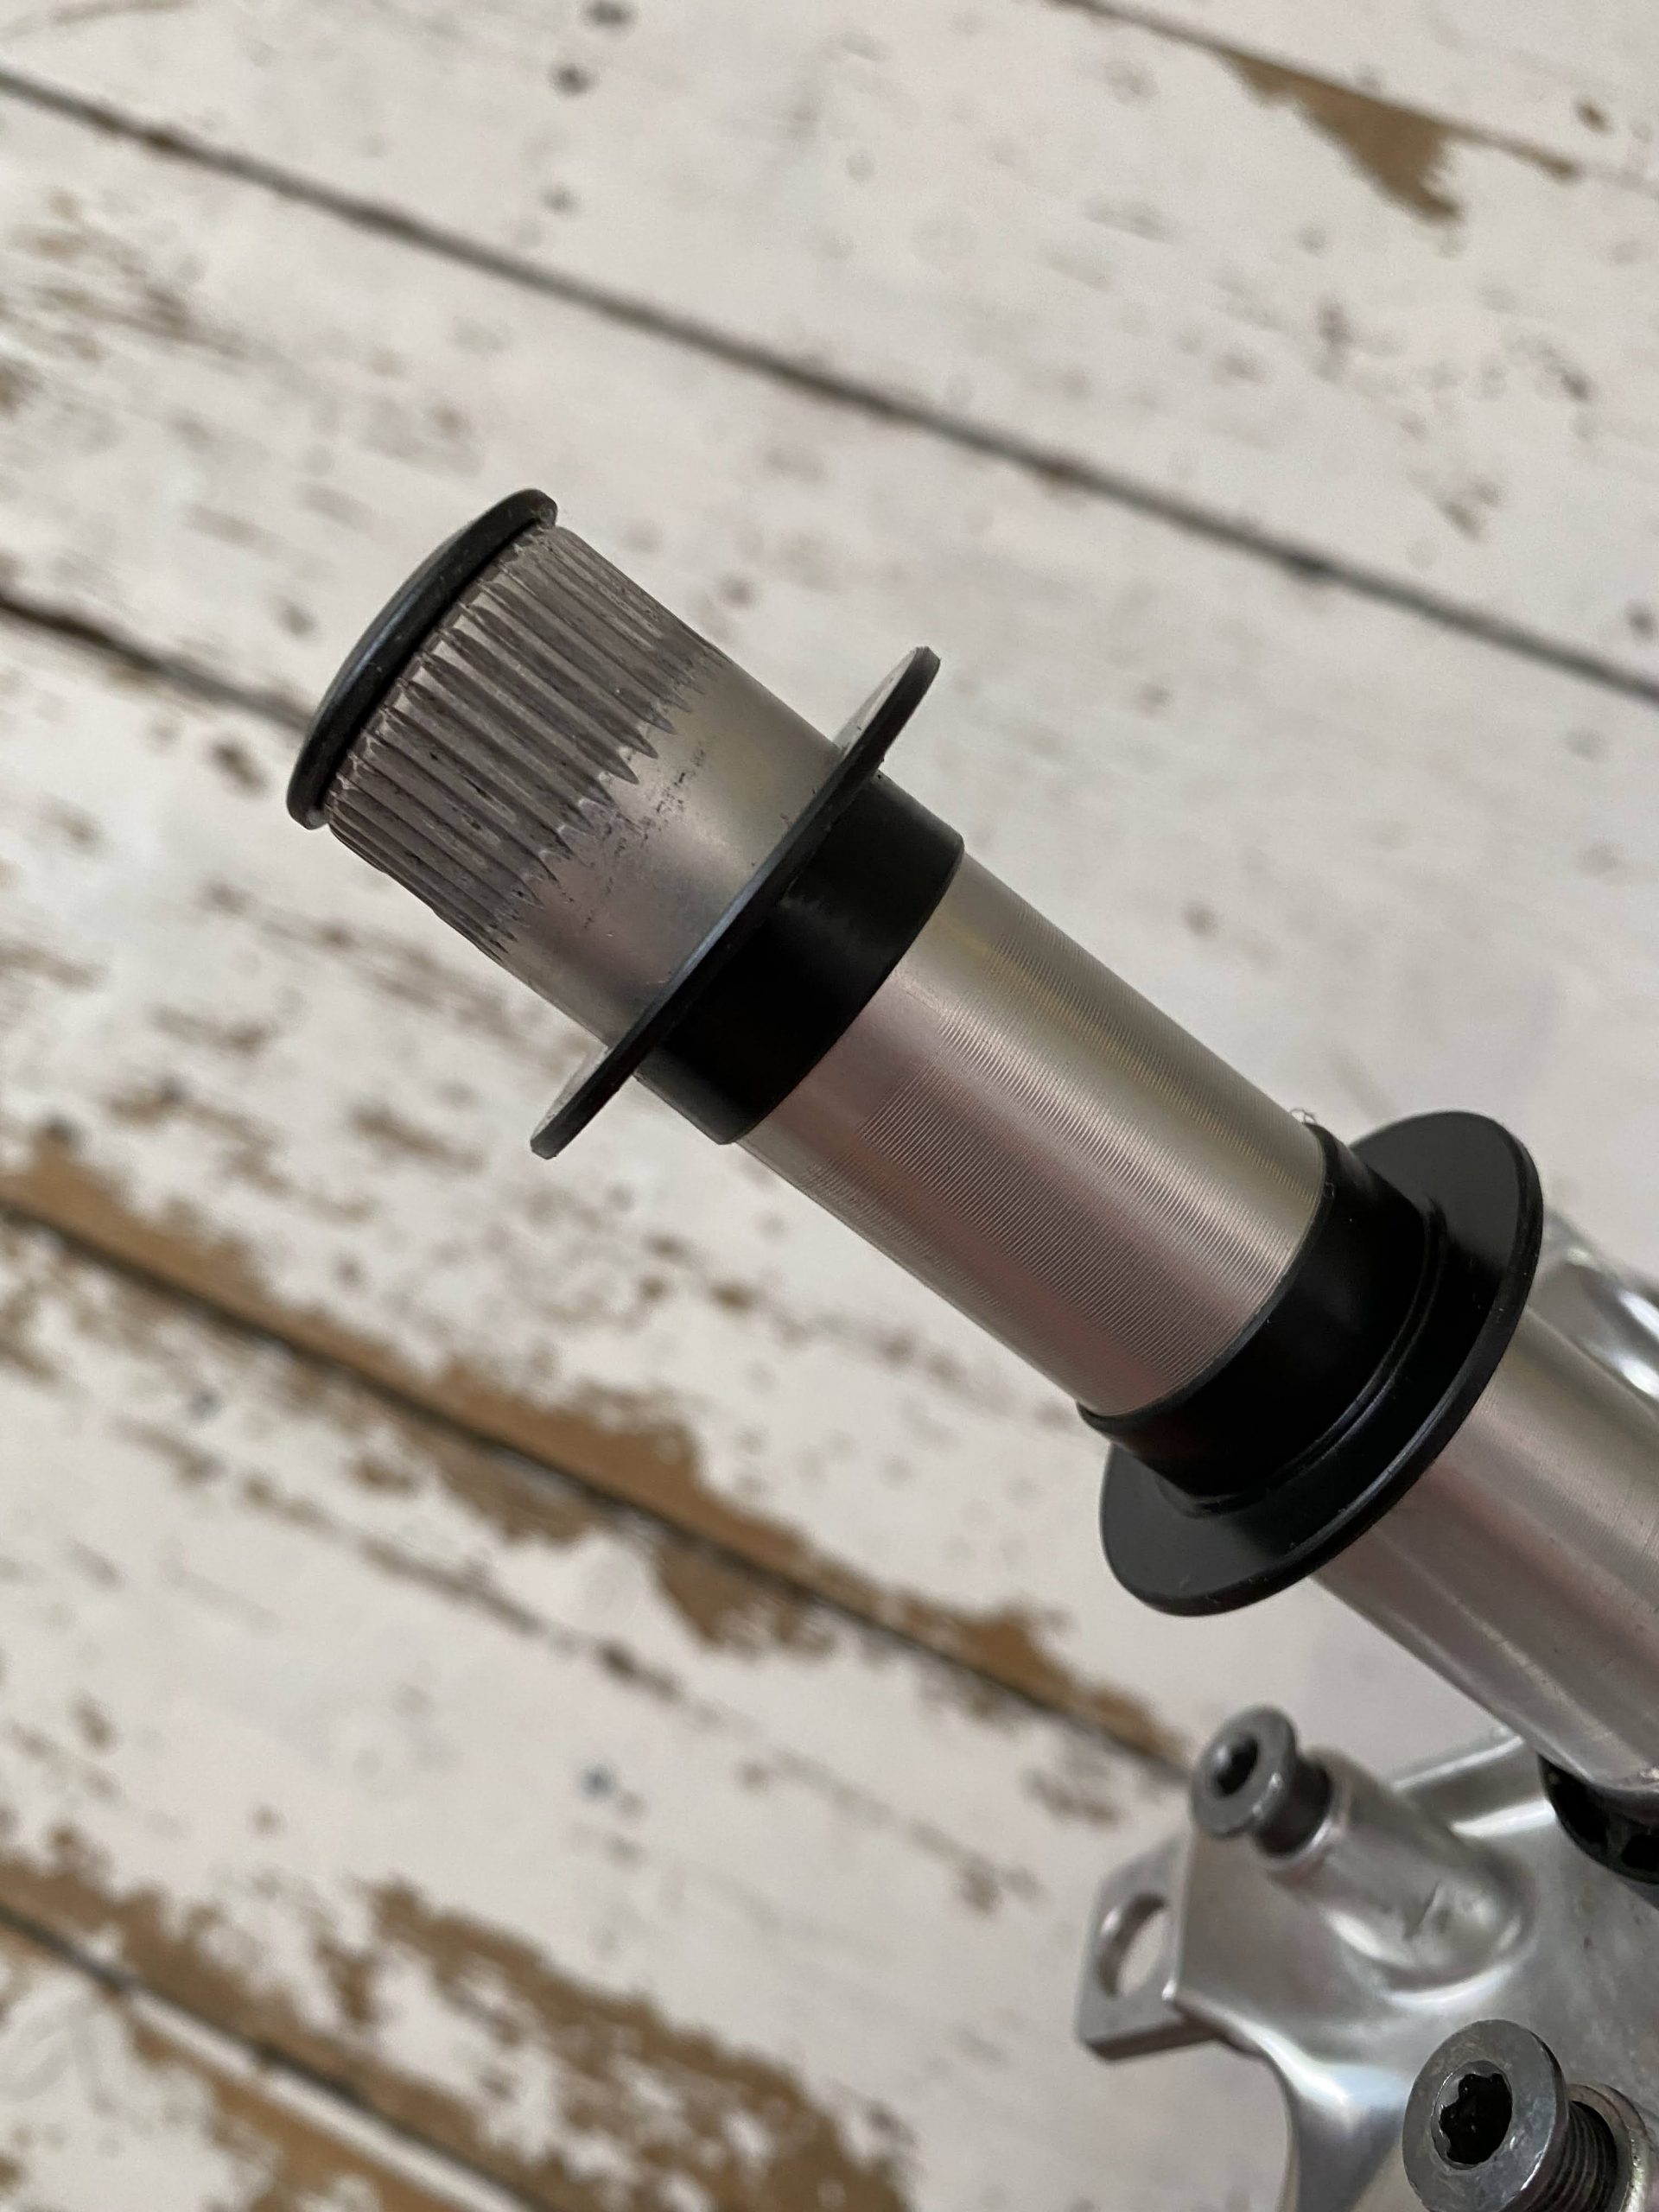
In the never ending quest for perfection or for some other odd reason, frame manufacturers started their own particular standards. BBs with various sized holes and their own particular tolerances and specifications appeared everywhere. My troubled frame is a Trek, and the standard they came up with is known as BB90. The light bulb idea seemed to be: take a non-standard (MRA2437LLB) rubber sealed cartridge bearing (as if that will keep the water out) that fits precisely around a 24mm diameter Shimano Hollowtech axle and shove that straight into the hole in the frame. Simples! Like CompareTheMarket.com. Is this starting to sound a little ‘ooh, err, you sexy beast?
Anyway, it’s no surprise that this has caused problems for so many people over the years. So much so that the original design was re-engineered by moving to a more standard sized bearing (6805) that has a 25mm internal diameter, which is then made to fit by using nylon spacers (top hats). This proved a more user friendly solution, as the nylon takes up the tolerance and slack while also masking the squeak when the fit isn’t perfect. Hashtag Sorted!
Getting the original BB90 bearings…
When I first serviced the bottom bracket on my 2010 Trek Madone some years ago, those non-standard MRA2437LLB bearings basically fell out when I took it apart. This was obviously not as it should be.
At the time, I had no idea about using the commonly available 6805 bearing with a ‘top hat’! Even Trek eventually adopted it as an advised fix. Why would I? I was unfamiliar with the BB90 standard and simply searched for the replacement bearing; it stands to reason, right? I’ll delve into the ‘top hat’ thing later in this post…
I’m a decent bike ride away from Sigma Sports in Richmond. Thankfully, they had the MRA2437LLB bearings made by Enduro at a reasonable price. Around £14 for the pair. So I saddled up and rode there to pick some up.
My BB90 challenge
When I got home, I did a test fit and found they were far too loose. So, I did what I always do in these situations and panicked.
Once I’d calmed down, I turned to the internet for inspiration. Because the BB90 standard is so proprietary, you need to dig deep to get any advice. However, the most common advice, which applies equally to any loose or creaky press-fit bottom bracket, is to smother some Loctite around the bearings before pressing them into the frame. Once cured, this should stop your bearings from moving while riding. Creak, be gone!
My first fix
I know Loctite to be excellent stuff, so I gave it a try with the 37 mm OD Enduro bearings I picked up. Basically, you’re bonding the bearing into the frame. However, rather than using a super strong permanent epoxy, using Loctite allows you to remove and service your bottom bracket by applying a little heat from a hair dryer or hot air gun to release the Loctite.
To ensure a decent bond, I cleaned the bottom bracket area of the frame with acetone. I did the same to the outer race of the new bearings. Then I carefully ‘glued’ them into the frame and left the bike overnight, all clamped in place. This was to allow the compound to cure.
I can’t tell you how excited I was to take the bike out and enjoy a squeak free glide around one of my favourite loops. Also, I can’t describe how disappointed I was when the creaking came back as soon as I tackled a steep hill.
I immediately thought I must have done something wrong when fitting everything back together. As it turned out, this wouldn’t be the last time I’d get home, pull everything apart, and try another fix in the hope that the nasty noise would be gone on the next ride.
If at first you don’t succeed, try, try, try…
Over a couple of years and several rusted bearings later—I’ve already mentioned that the only barrier those cartridge bearings have from the British weather is the thin rubber seals that they come fitted with—I tried everything to kill that creak!
I bought a ‘screw together’ kit made by Token, which worked for a while, I think… I can’t help feeling it still creaked, although that may be my imagination. However, my experience was that they needed frequent replacement as they got gritty after only a couple of thousand miles. After one replacement, I decided that, because of the cost, they were too expensive for my taste.
I even tried doing a carbon repair. I built up the frame with a fine layer of carbon to fill the tiny 0.15mm gap. That gap was the root of my woes. Every time I tried a new fix, I was convinced I had it cracked. However, ultimately, the twittering returned.
Things I didn’t try, try
Some other suggestions, that I didn’t pursue in the end, were to
a) use an oversized bearing. The outside diameter of these is larger by 0.1 mm. In the end, I’m glad I didn’t go for this. When you fit an oversized bearing, should it come loose and wobble in the frame, those all important precision holes get even larger!! Not good.
b) Use angular contact bearings. You can ‘squish’ these together with a lot more force. This effectively holds the bearings into the frame, so they can’t move so easily. While some swore by this fix, others reasoned that using angular contact bearings was not how the press fit bottom bracket was designed. In the end, I didn’t try this either.
The beginning of the end for my creaky bottom bracket
I have to credit Hambini for the inspiration that led me to the final fix. Here’s a link to his helpful and solid description of the issue: It was Hambini who attracted my attention to using 6805 bearings with plastic spacers (top hats). Everyone else (including Trek) had already switched over! Why am I always the last to know stuff?
Basically, Hambini makes the point that bearings are manufactured to slightly different tolerances, and this makes a world of difference. He also wisely tells us that while the high end ones from the likes of SKF are expensive, they really are the real deal. So, it’s well worth the extra spend. Couple these with spacers machined to a high tolerance and made from a machine-able and superior material called Delrin, then add the correct Loctite compound, and you may finally be sorted.
Hambini sells a complete kit, including SKF (or similar) bearings and two precision Delrin ‘top hats’. I’d already got myself a set of SKF 6805 bearings. So, I messaged to see how much the top hats on their own would cost. He got back to me right away. However, he told me he only supplied complete kits, and they were too pricey for my stingy self.
I doff my ‘top hats’ to you
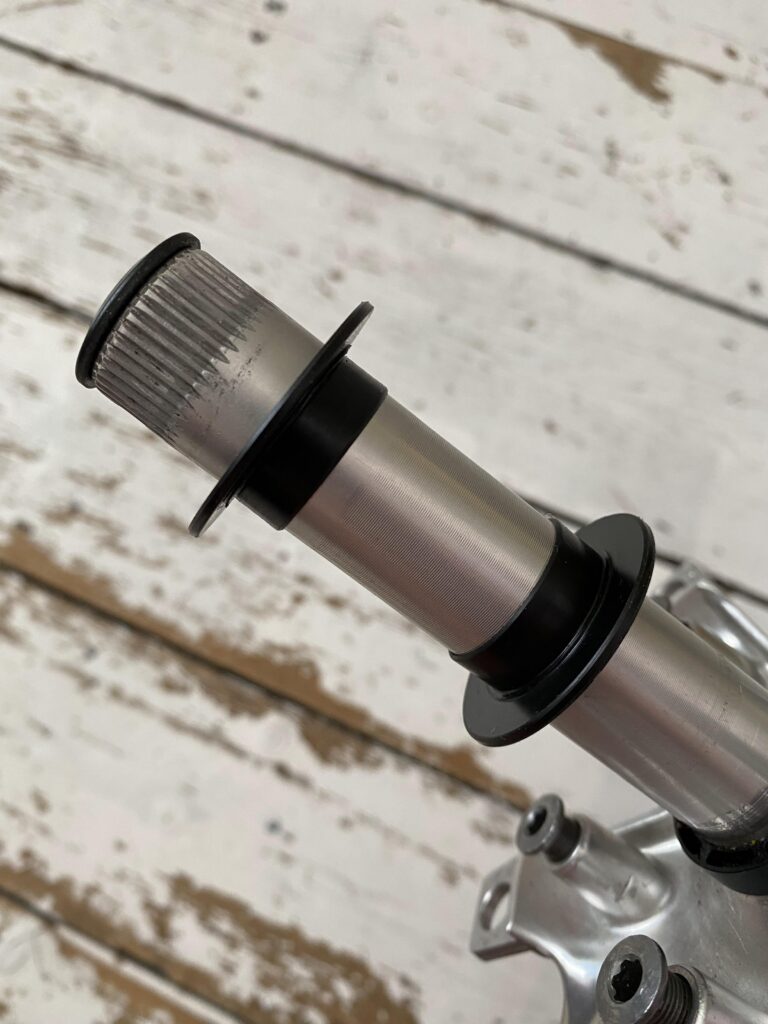
So, I picked up a couple of standard nylon top hats (spacers) from a Trek dealer and gave them a try. Although the axle developed a little play after a few hundred miles of riding, I could see the benefits.
Firstly, there was no creaking noise, despite the play. This was encouraging. Then, I found I didn’t have to apply as much preload (screwing everything up really tight) when installing the axle and cranks. I was using a lot of preload before in an effort to hold the original sized bearings in place, which made them wear out very quickly.
Helpfully, the top hats also eliminate the metal-on-metal corrosion of the axle journals (where the bearings fit on the axle). With the 24mm diameter steel bearing race sitting on the 24mm axle, you get pitting and corrosion after a very short time.
The spacers also spread the load between the bearing and axle.
On top of that, they also conveniently serve as an extra barrier against water ingress. So, again, less wear and more service life. In other words… lots of free running, easy to maintain smoothie-woothie rolly-polly…
Now if I could only eliminate some of that play…
I could see Hambini was onto something and felt if I could ‘tighten up’ my bottom bracket system overall, I might be able to eliminate the play and finally sort the problem. So I cracked open the callipers, micrometres, and CAD software and sketched up an engineer’s drawing of a pair of top hats that I could then machine from Delrin myself.
I usually try to share this stuff with the family, and… meh… so I’m putting it here to bore you with it instead…
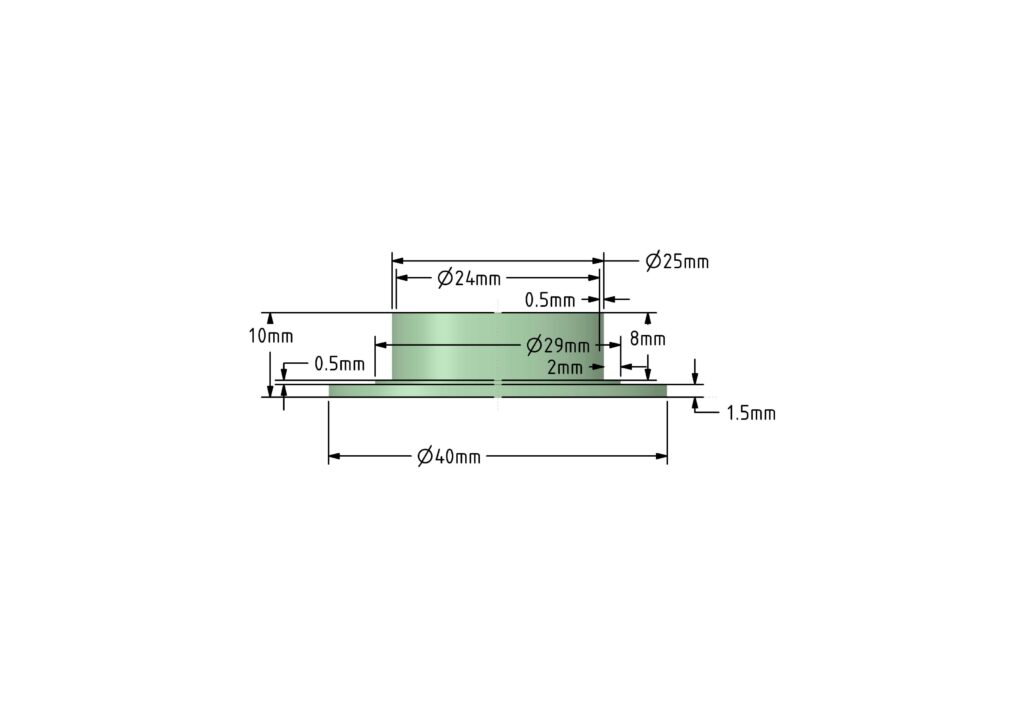
The great thing about making your own bike parts is that you can make them exactly as you want them. Being able to get something to within a few microns (a micron is a thousandth of a mm) is pretty helpful.
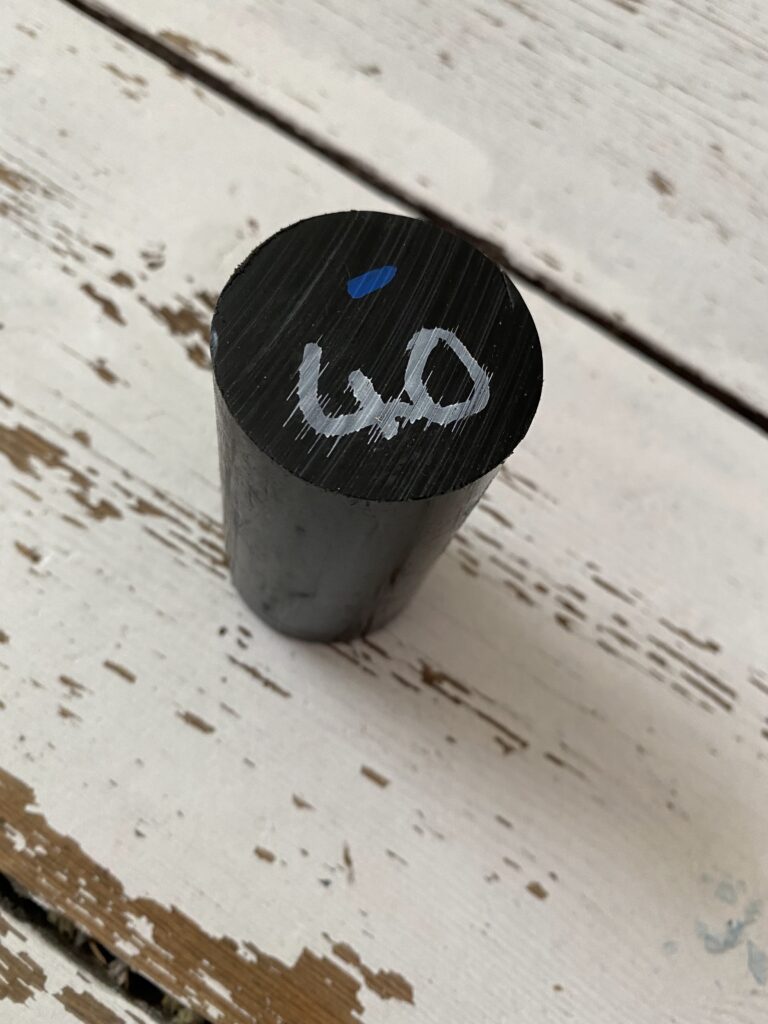
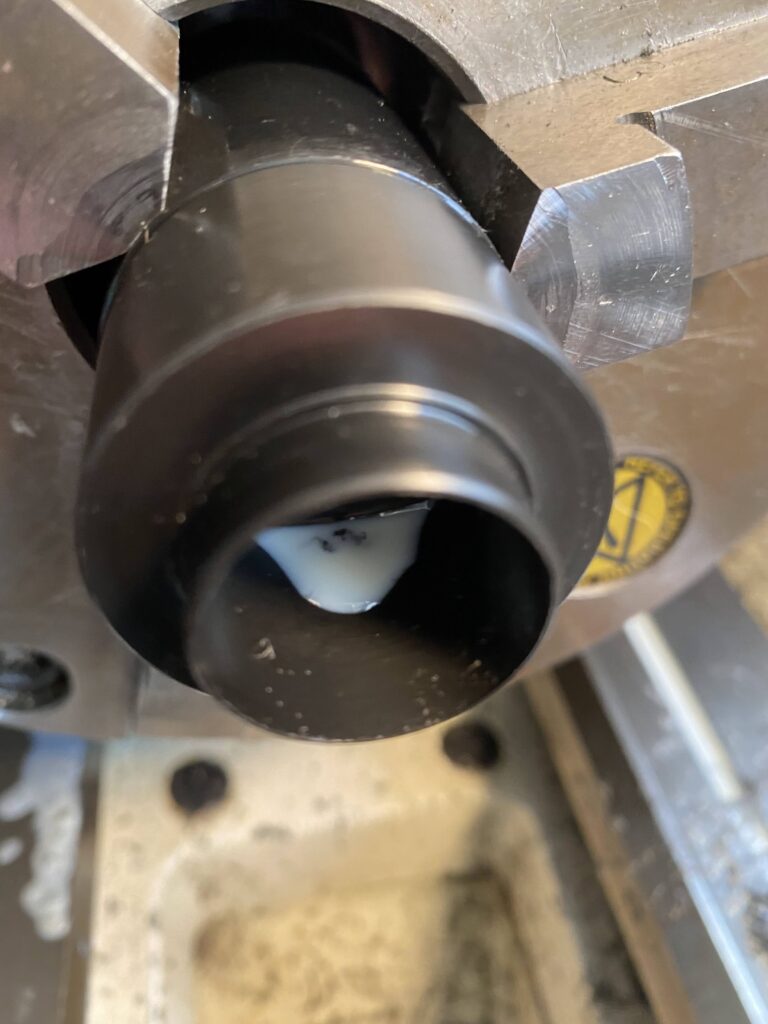
So, I put in an order for a short piece of Delrin round bar, took my drawing, and headed off to the machine shop.
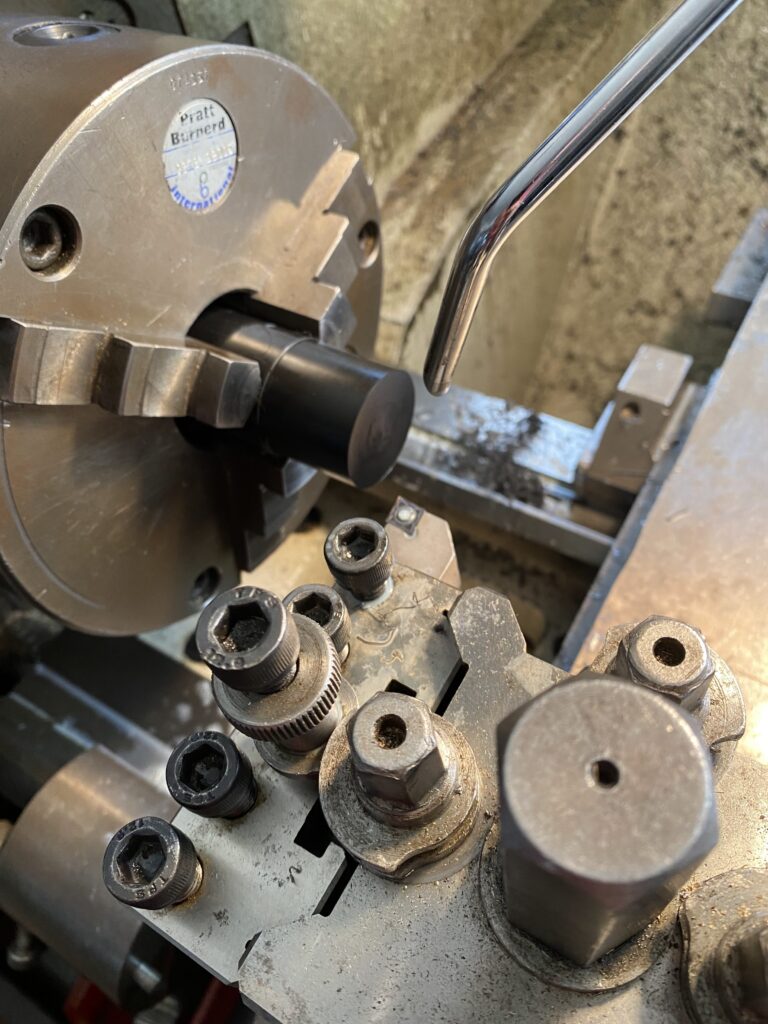
A couple of hours later, I was back home with my two freshly machined parts, shoving them into the Trek frame.
Putting things to the test
The fit was tight. I had made the spacers a teeny weeny bit oversized. Nevertheless, with a bit of gentle persuasion, I got everything installed using only a very light pre-load, and I had finally cracked it. Those cranks span smoothly and freely. It was a beautiful moment. There were tears of joy…
I installed my home made BB90 repair kit not long after a somewhat creaky Dunwich Dynamo 2022 ride. More than a year later and thousands of miles, I have not yet taken that bottom bracket apart—perhaps I’m a little afraid to. It’s still running smoothly without any play. I call that a massive win!
Conclusion…
If you have this problem and aren’t able to machine your own parts (not many of us can), I recommend looking at the kits Hambini sells if your frame isn’t horrendously worn. Then you too may find that you can ride in a creak free world.
Leave a Reply