
Rim tape, the cause of so much pain we never knew we suffered
I bet most people who run tubeless on road wheels intrinsically know more about rim tape than they realise. If you’re someone like me who still uses inner tubes, you’ve probably never thought about how much better life can be with the correct rim tape.
Those out there who have successfully gone through the initial pain of fighting to make tubeless work will have found stuff out the hard way. They’ll have settled on a setup they can rely on that works for them and never looked back… Read on if you’re one of us who still uses inner tubes on modern rims.
I recently became acutely aware of the struggles I’d endured running tubes on tubeless-ready rims, and after hours of trial and error, it all boiled down to having the wrong rim tape.
The background
There was a time when rims were far simpler. I’m talking AW (After wood—yes, rims were once made of wood) as opposed to BW (Before w……). Early metal rims were single-walled, sometimes made from heavy steel, with spokes and nipples right there, sticking their pointy heads above the well of the rim bed. Back then, the main job of rim tape was to stop those spoke ends from poking a hole in your inner-tube. Rim tape needed to be thick enough and durable enough to work, and that was it. Tape was generally fabric or plastic, sometimes even a butyl rubber hoop or a wrap of electrical tape. Almost anything would do.
Then, along came double-walled rims with spoke holes. Now, the humble rim tape also needs to stop the inner tube from bulging down into those holes and being punctured by the spoke heads that are hiding inside the rim. In addition to having to resist the tyre pressure, the tape is also more prone to movement on the rim bed.
…And along come tubeless-ready rims. Being double-walled, they initially had spoke holes, but they were machined slightly differently. They have ‘ledges’ onto which the tyre bead pops up. This creates an airtight seal. Inevitably, tubeless-ready rims without holes were designed. These rims do not need rim tape, although they’re a bitch to build up. For those who only own these wheels, you’re pretty much good to go…. unless your valve hole is sharp or burred. There’s no need to worry about rim tape at all!
The pain caused by the wrong rim tape
For the rest of us, here are some of the challenges the wrong rim tape can cause: installation issues (or what people call “tight tyres”), making it impossible to fit or remove tyres without levers, resulting in very sore fingers and bruised hands; random flats; corroded rims and nipples resulting in trashed wheels; late-night roadside puncture nightmares (often in the rain or a blizzard); not to mention those expensive, fragile latex inner tubes that promise to make you faster but explode whenever you try them out.
Delving deeper into those rim tape fails
To be honest, I’m unconvinced about “tight tyre” syndrome. At a push, you should be able to remove and fit tyres without levers. That’s not to say I haven’t struggled, and I can admit there are exceptional rim and tyre combinations that don’t play nicely together. However, ordinarily, there shouldn’t be a problem. Additionally, the idea of leaking tubeless setups makes me itch. I accept that I’ve never actually used tubeless tyres, so what do I know?… Still, the logical part of me smells a rat…. Today, I researched the whole thing. I talked to other people, went down some deep rabbit holes for hours, and came up with some interesting stuff…
If you use standard rim tape on tubeless-ready rims, it will cause you a tonne of misery, regardless of whether you run inner tubes or not. Standard rim tape is too thick for the precision tolerance that tubeless rims are made to. When you go to fit the tyre, the bead won’t sit deep enough in the well of the rim to allow enough slack for you to be able to install it using only your hands.
Some down sides to a few of the different tapes
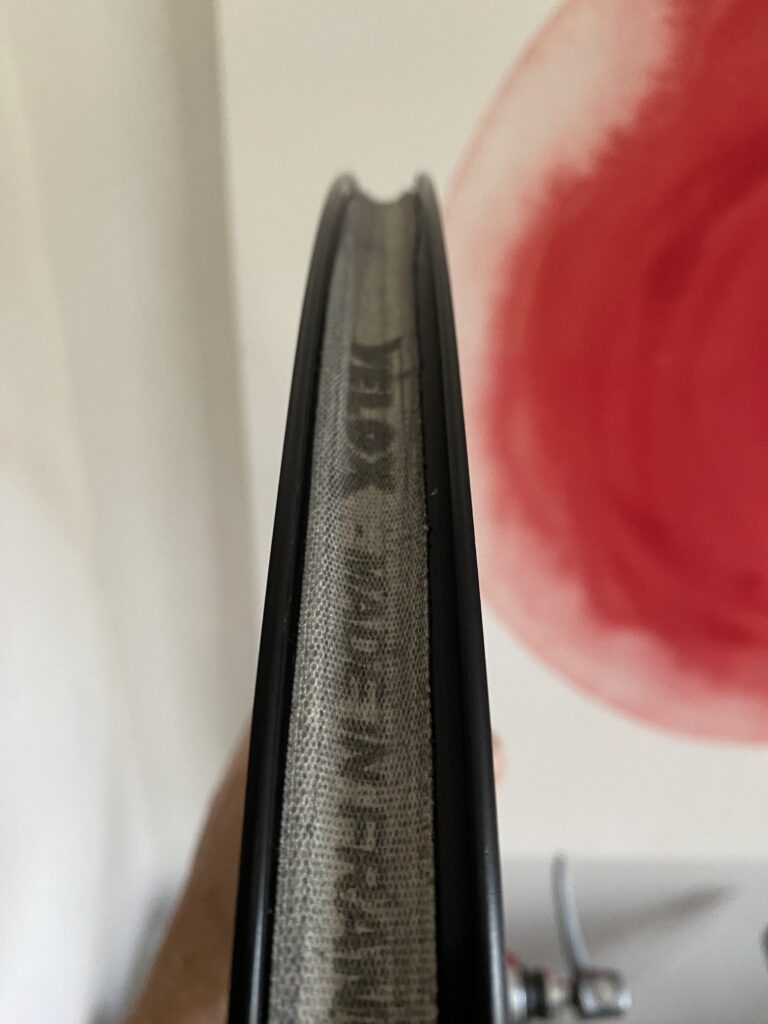
That plasticized strapping-type tape will slide about on the smooth tubeless-ready rim beds; they’re smooth to help ensure an airtight seal with the slightly sticky tubeless rim tape. If you then reach for the cloth-based stuff with contact adhesive (Gorilla or Velox), it tends to get pushed aside, exposing those sneaky spoke holes. Your tube, especially if it’s a latex one, will then pop. Gorilla tape, a go-to for ghetto tubeless set-ups, will leave a sticky mess on the rim bed that is almost impossible to remove, and most ‘traditional’ tapes are far too thick.
As for Velox cloth tape, which is popular among traditionalists, it stays wet after a soggy ride. This can cause aluminium rims to corrode, and in the case of aluminium nipples with carbon rims in particular, it will ruin your wheel over time. Don’t believe me? I have the white powdery evidence to prove it. There are other issues, but hey, I think the above is enough to make my point…
How to choose the correct rim tape for modern road rims with spoke holes
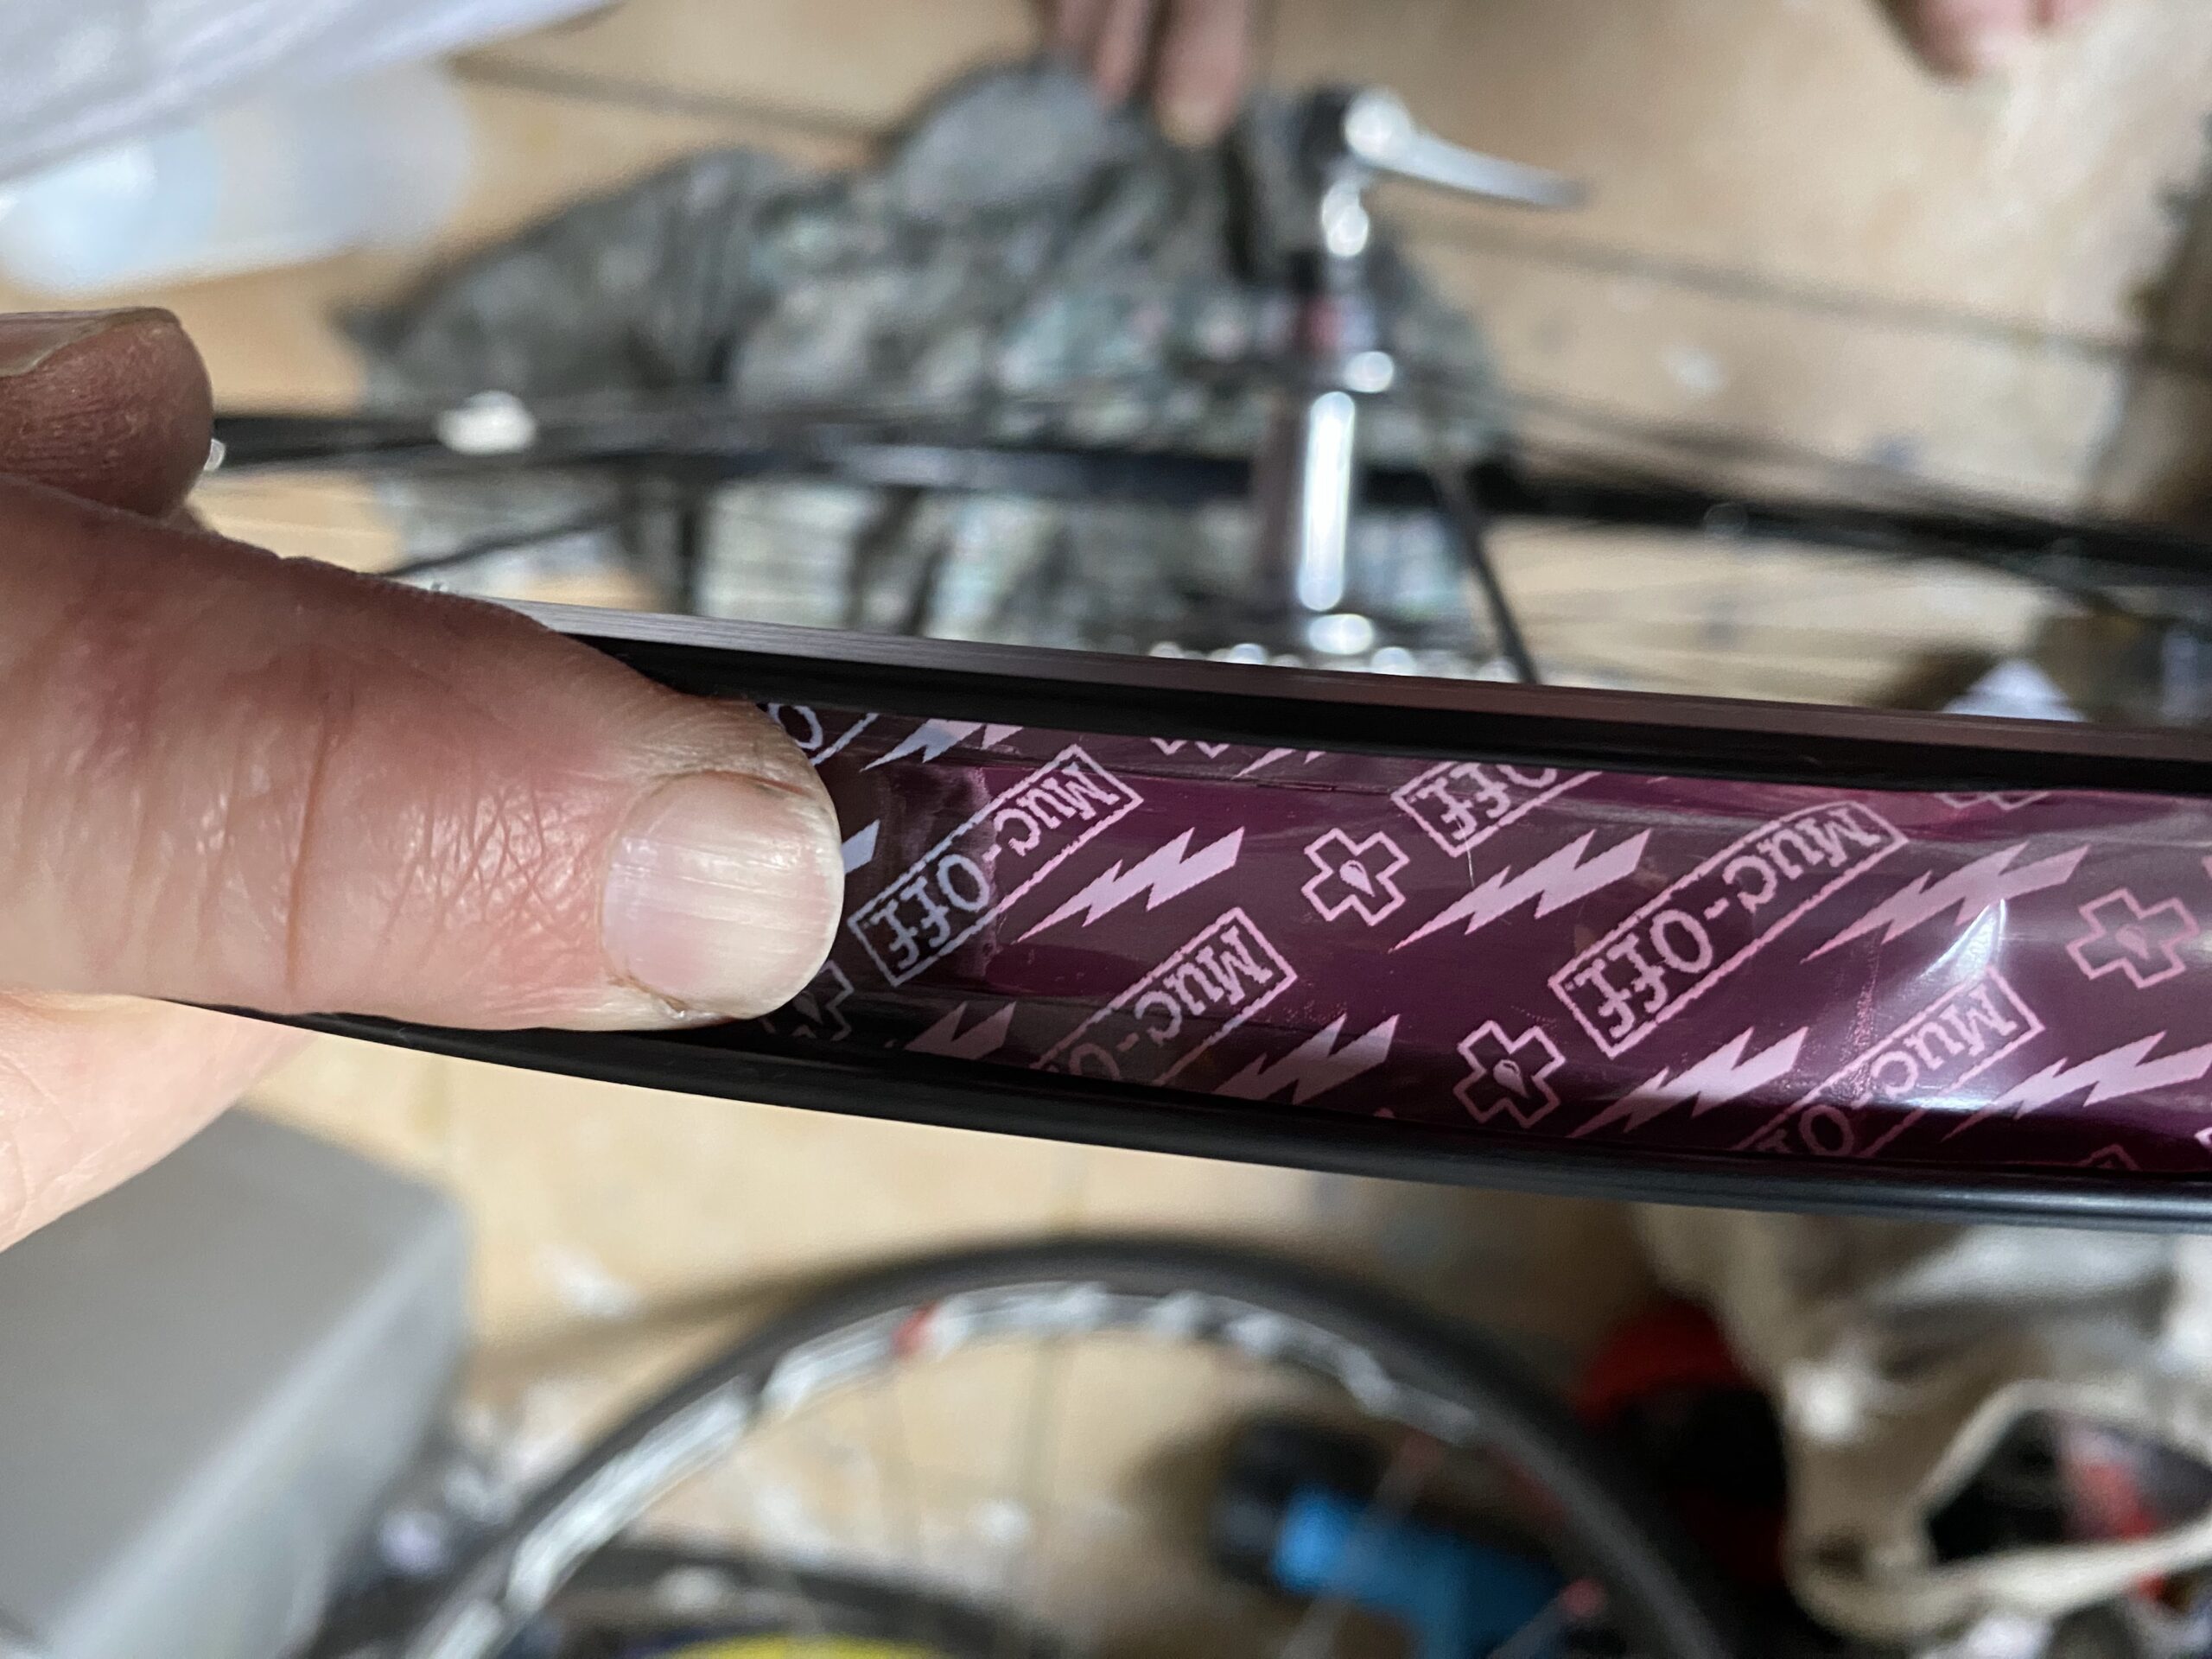
When running modern or tubeless-ready rims, either with or without tubes, you need to use tubeless-specific tape. It’s thin and has the right type of adhesive to produce a seal. It’s also designed to cope with the air pressure in the system. Crucially, it needs to be the exact correct width. The tape needs to cover the whole width of the rim bed, from sidewall to sidewall. When the tubeless tyre bead sits on that, it pushes the tape down and helps prevent sealant creeping under the tape and creating air leaks…
The correct width of your tubeless tape should be a millimetre wider than the internal rim width. The idea here is to take into account the curvature of the well of the rim bed. This is not a perfect method, as no two rim beds are the same. You may get away with your tape being one or two millimetres wider, but the exact width is best. You can trawl the web, and if you’re very lucky get the recommended tape width from the manufacturer. Alternatively, you can measure it with a sharp pencil using a bit of paper pressed into the rim bed.
How to install tubeless rim tape
My first attempt at installing tubeless rim tape didn’t go as well as hoped.
Step 1 – the prep
The key is to make the rim airtight. First, make sure your rim is absolutely clean. Use some isopropyl alcohol or some other suitable solvent to get the thing spotless. “Cleanliness is godliness.” This step will ensure the adhesive will stick. If you are replacing old rim tape, here are a couple of handy tips:
- remove the old tape very slowly and carefully. Often, this results in the glue coming away with the tape as you remove it.
- To deal with the glue left behind, take a piece of the tape itself. Stick it back over the glue residue, and when you pull it up again, the glue comes away with the tape. This works with most tapes and stickers, particularly duct tape or gaffer. Doing this saves you from having to use solvent to get it off, which can be a messy, time-consuming nightmare!!!!
Step 2 – the application
Start applying your tape opposite the valve. Getting the tape centred is tricky. Take your time, as a good start is helpful.
Once you’ve got a couple of inches in place, press the tape you’ve just laid into the bed of the rim at the same time as you pull the roll. This technique stretches the tape tight against the rim. Continue feeding and gently pulling the tape while following along behind with your finger, pressing the tape onto the rim. You’re looking for the tape to almost appear as if it was there when it was manufactured. It’s helpful if your tape is transparent, as you can see where the tape makes a perfect seal and avoid air bubbles as they try to form.
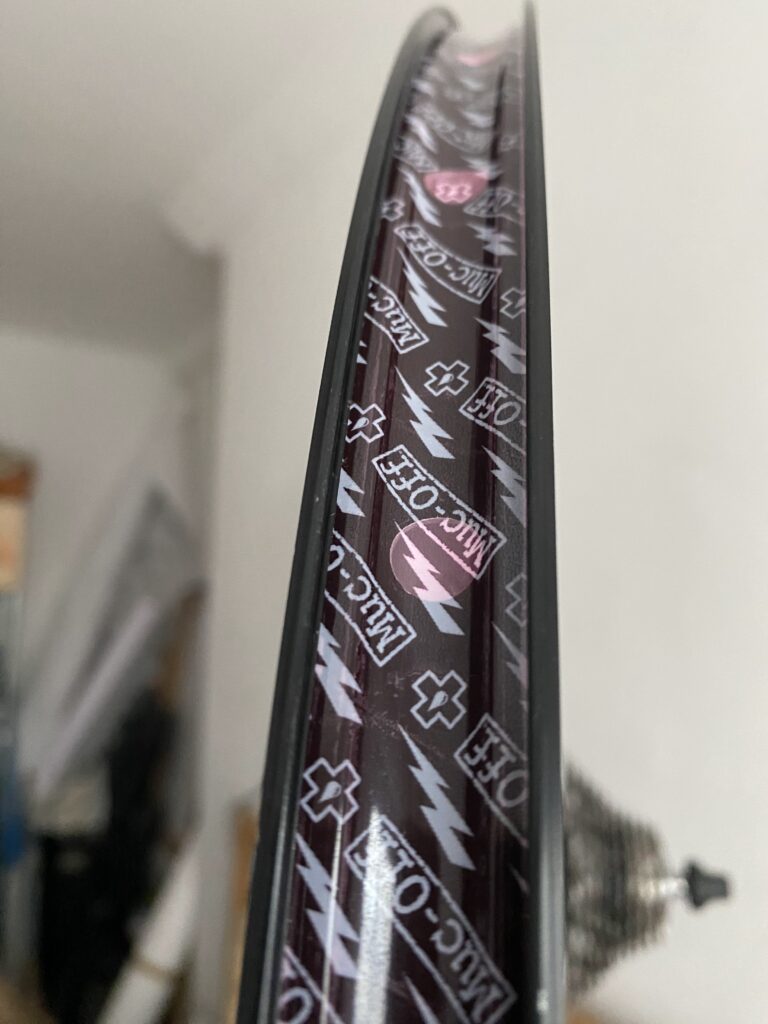
Carry on going around the rim, making sure the tape is laid down centrally all the way around. You don’t need to rush this process. Once you’ve gone right around, overlap the start by about 3 or 4 inches. On a tubeless setup, there is potential for sealant to seep under the edge where you cut the tape, so this needs to be firmly stuck down. Some tubeless tapes come with a special sticker that you apply over the top of the end joint to prevent this from happening. Of course, if you intend to use an inner tube, you’re good to go.
Finishing off and checking the tape
Go around the rim, making sure the tape is stuck to the ledges of the rim bed where the edges of the tape meet the sidewalls of the rim. Don’t use anything sharp or hard, as it could puncture or tear the tape. Gently running my fingernail around it works for me.
Double wrap?
Some people wrap the tape around the rim twice; however, this doesn’t make sense. You end up with two layers of rim tape on the rim shoulder that is machined to accept only one layer, 0.1 mm thick. The extra layer, while very thin, makes the edge diameter too large. It might work, but it will make the tyre harder to fit. Some advise fitting a tyre with an inner tube, then leaving the wheel overnight to bed in the tape before installing your tubeless tyre. This can only be helpful if the tape was not properly seated when installed in the first place.
I guess what I’m saying is that barring burrs, nicks, flaws, imperfections, dents, dings, holes in the tape, tyre lever tears, etc…, if the tape is made for purpose and is properly applied, it should be airtight, and you’re good to go tubeless! If it isn’t airtight or not perfectly fitted, you’re pretty safe to run that bad boy with an inner tube.
Fitting your tyre
With the correct tape installed on a rim in reasonable condition, you stand a fair chance of being able to get that tyre on by hand. This is good, as tyre levers can damage your beautiful rim tape as I’ve already mentioned.
There are some who recommend ‘stretching’ the tyre to make it easier to fit. However, that tyre bead is a Kevlar cord. Bulletproof vests use Kevlar. It doesn’t stretch! Christ, if it did, it wouldn’t stop a bullet, and your road tyre would come off the rim when you ride, should you go around corners, go downhill, or get out of the saddle. Most of us don’t expect our clincher tyres to come off. After all, you’re betting your life on the fact that they don’t stretch every time you ride! So, don’t put too much faith into believing you can (stretch your tyre, that is)!!
Why MTB, Gravel, and Cross are different
MTB tubeless is a completely different beast. While the above information is still relevant, the tolerances are much more forgiving. You can get away with just about anything. This applies to the current wider road or gravel rims we see on the market. The rim width in proportion to the spoke holes (if they are there) plus the lower pressures and other elements mean you can use just about any tape and tyre and get a reasonable seal.
Hookless rims
I personally have no experience with hookless rims, although I’ve chatted at length with those who have. I do know that the recent ZIPP wheels, which are hookless and very wide, have a very low max tyre pressure tolerance. You must use hookless compatible tyres with these rims. It’s important to understand that you do not need more pressure for this system, so it’s critical that you do not pump them up above the recommended max, as these tyres could pop off the rim in a tight corner if over inflated because there’s no hook holding the tyre in place. They’re designed to stay in place at the recommended pressure. It’s essential to follow the tyre manufacturer’s recommendations.
Taking hookless off-road
Someone I trust in my cycling club had this to say about hookless wheels off-road:-
“As rims are becoming hookless, that’s ok with gravel as you are not running very very low pressure and not taking corners very sharply. However, if anyone is riding cross and low pressure then hookless can be a problem and you can get burping with low pressure. What I have ended doing is using Challenge tyres. They happen to be the best for CX anyway but they are an utter bitch to seat into the tubeless rim. The benefit however is that the fit is so tight, when you eventually get them on (and wrecked a few levers in the process) that you can run them very low pressure and not get burping.
When I tried a tyre like the Michelin CX and run it at low pressure I managed to rip it out of the rim if the turns were very sharp and pressure was low. My weight does not help either. I suppose this is only relevant for anyone doing CX. As I say, it’s not a big problem for gravel.“
The roundup
As bike manufacturers continue to strive to bring us better, faster, more sophisticated, and more reliable bike products, the ‘standards’ of the parts become more diverse. It seems that each standard plays differently with each cycling discipline, which all have different requirements and challenges. You need to be incredibly well-enlightened and experienced just to be able to fix your own punctures and make informed wheel and tyre choices! While all this can be a bit of a nightmare, with the advice here, a little patience, some experimentation, and knowledge, you stand a good chance of turning these innovations to your advantage, banishing the gremlins, and enjoying a better ride!
Leave a Reply